Fitting Yourself Properly For New Snowboarding Boots
Congratulations! If you've made it this far, chances are you have recently purchased, or are thinking about purchasing a new pair of snowboarding boots. Way to go! You're are carrying a torch that snowboarding lit decades ago, and we want to take this opportunity to thank you for starting to, or continuing to ride. It's a big deal. Take it in. Relish in the fact that your are a snowboarder, because so are we, and we know what it feels like. It feels good.
Now we all know that happy feet are as important to your day on the hill as a toe strap is to your binding, or a lens is to your goggles so we wanted to take a little time to give you some education on techniques that have proven themselves over and over again here at Backwoods Snowboards. We are fortunate to have been professionally fitting snowboarders of all levels for boots at our brick and mortar location in Maine for almost 15 years. Here are a few real-life tips and tactics that will help you make the best possible decision.
Deciding Which Size To Buy
This is single handedly the most difficult part of new snowboarding boots. Brands, liners, and people are all different. I have always thought it's a good idea to scan what you have for existing footwear and get a good game plan. Keep in mind that snowboarding boots are more of a performance-fit footwear. I can frequently be heard saying "I've had boots too big before, and boots too small before and neither one of those is a good thing" and "new boots never get smaller, they only get bigger as you use them."
Skateboarding has also been a useful comparison due to the fact that skate shoes are more of a performance-fit footwear as well. If you have shoes a little too big they may be loose and comfy, but when you start skating in them there is simply too much slop and no secure foot hold. These things lead to injury, no question. However the population that crosses over from snow to skate isn't as big as you'd think, so try to find your snuggest, but most comfortable pair of shoes and use that as a starting point.
Now That You've Pulled the Trigger
Ok, ok. Like I said before, we're stoked for you. But before you go ahead and rip into that new box that just landed at your feet, there are a couple things that are going to make your first impression better.
You've waited this long so now you have to get your stoke level up. Take a second and put in, or load up your favorite snowboarding video (my personal favorite is Mack Dawg Productions: Decade, and here's a link to the TEASER .) Put on your favorite album, grab a fresh pair of snowboard socks, and your favorite comfy seat that allows you to get in a comfortable knees-bent position with easy access to your feet.
Step One: Boot Inspection
You want to make sure that all laces are routed properly and there are no obvious errors in the manufacturing process. Try the laces, work the Boa Controls, check your cleats, and test the locks for your internal harness. Reach down inside and check to make sure the footbed is installed correctly, and the harness cords are operating smoothly. You don't have to be a boot engineer to feel like something just isn't right.
If everything checks out to your liking then go ahead...
Open that thing right up.
- If it's a traditional lace boot be sure to fully release every lace loop to make sure getting your foot in there isn't deceptively difficult.
- If it's a Boa Closure system be sure to open the tongue all the way up and then re-lock the Boa Control Knob in order to keep the tongue as spacious as possible. (You can release the knob again after the liner is tightened for Boa Coiler to take over and pull the cable slack back in automatically.)
- If it's SpeedZone by Burton release both Upper and Lower Zones fully and pull as much slack out as possible to make room for entry.
Open up your liner. We can't emphasize this enough!
- The harness systems in each boot and boot liner are designed to increase heel hold by cinching tightly around your ankle area.
- The routing patterns for these cords and harnesses are made to go lower down the liner than is obvious.
- If you fail to give it slack, it will be incredibly difficult to comfortably and effectively get your foot in the liner.
- This almost always results in an incorrect perception of the size of the boots and is one of the leading causes for improper boot fitting.
You're So Close To Trying It On
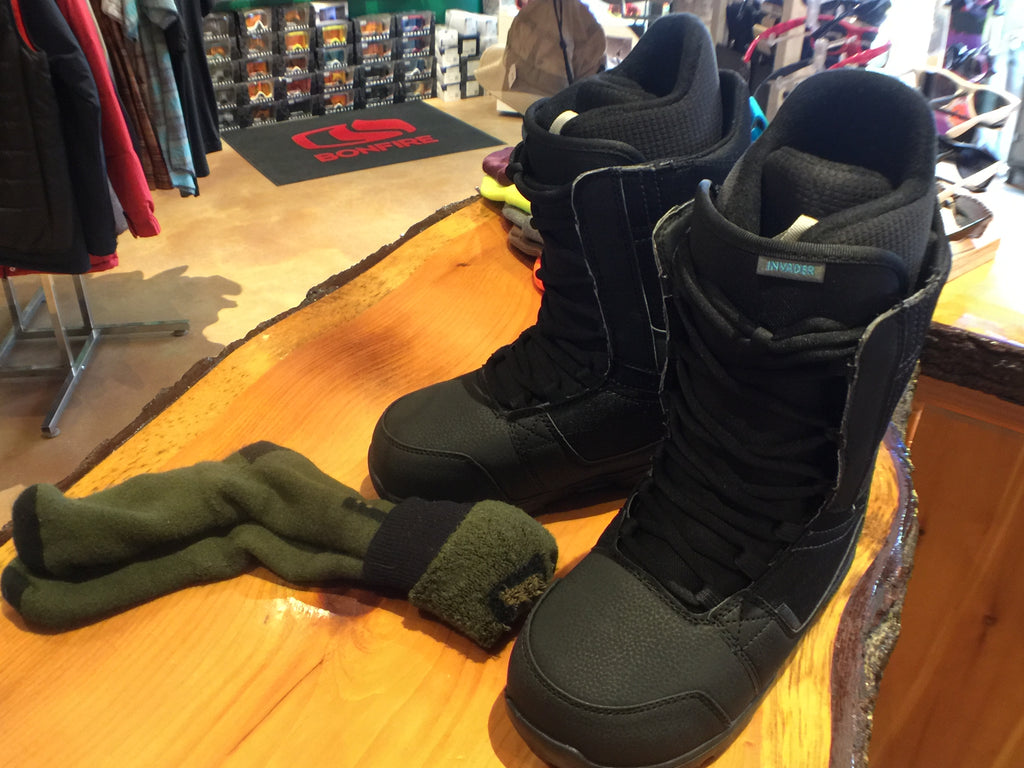
The next thing you want to do is get your favorite pair of snowboarding socks on those dogs of yours. We recommend a mid-weight, moisture wicking, knee high sock that properly fits your foot. Bunching is a blistering, snowboard killer. The other thing we recommend is; don't tuck your first layer into your boot or sock. Let the sock do the work. If you like full length first layers then simply pull the lower section up your leg to just where the boot liner ends. This will create the base warmth you want without interfering with the natural interaction of your boot liner and sock.
Get Your Foot In That Thing
The next step is the most important part of trying on new snowboarding boots and I'm going to walk you through it like I do with any customer here at the store.
Liner Cinching
- Get your foot in.
- Stay seated. Resist your urge to stand up.
- Give yourself a serious heel strike. Sink your foot all the way back and keep your toes up off the floor.
- Keep downward pressure at an angle towards the floor through your heel as you cinch the internal harness.
- If you like a little extra tighness, keep pressure on the locking tab of your harness cord and rock the cord back and forth in your hand in order to get that little extra out of it.
- Ensure that the locking mechanism on the liner is fully locked.
- Keep in mind, over tightening is the leading cause of fatigue, poor circulation, and cold feet. You want to rely on a correctly chosen level of boot to give you the support and response you crave. Don't get the lesser boot and try to make up for it by over tightening. That's a losing battle.
Boot Lacing
- Stay seated.
- Give yourself another serious heel strike. Sink your foot all the way back and keep your toes up off the floor.
- Keep downward pressure at an angle towards the floor through your heel as you lace up the shell.
- Ensure the tongue is tucked in and seated properly.
- Take your time and address each lace, or lacing zone carefully and methodically.
- This will help achieve the appropriate tightness and tensioning.
- Once you've laced the boot fully, then and only then, stand up.
Check out this quick video for a practical example:
There, Now That Wasn't So Bad
Now that it's on your foot the work has begun. You want to be "comfortably snug." I always say, "if you can feel the material of the liner surrounding your foot, that's a good thing." As I stated before they never get smaller, only bigger as you use them. But with that in mind, you don't want to feel jammed right to the end of the boot with your toes curling. You also never want to have something that's uncomfortable and hope that it becomes comfortable in the future. The chances of that are pretty slim.
While standing upright, there are a few things you can do that will give you a better gauge on the boot size. First thing you should do is hang out in them for a few minutes. If you don't have a boot warmer, the liner will soften as its temperature increases. Keep your heel back, and bend your knees slightly while keeping your whole foot on the floor. This should relieve some slight pressure that can feel like your foot is being driven forward.
Some Things To Pay Attention To
The longer you hang out in a pair of boots, the more your feet are going to speak to you. You want to pay attention to things like pressure points, and spots of your feet or toes that feel like they're getting numb. (Keep in mind that over tightening of boots can lead to these same issues so be confident with the tightness of your lacing.)
Also, heel-lift is the enemy. If you're forcefully attempting to lift your heel in any boot, you can. What you want to be cautious of, is lifting or excessive movement when you are just casually walking around in them.
Another thing to keep in mind is just because you're not a size 10.0 in one brand or model, doesn't mean you're not a size 10.0 in another. Every brand offers tiers of boot liner and shell levels which all create a different recipe. Although this may seem daunting or excessive, the reason is, brands want to offer a diverse selection in order to better accommodate every foot style.
A Few More Things To Keep In Mind
A confident decision is the best kind. If you're questioning it, it never hurts to try a half size bigger or smaller. A word of caution is, going up a half size is going to feel more comfortable no matter what. The more practical solution is, going as small as you feel comfortable so that when the liner expands as it becomes broken in you're not stuck with this liner that has become too big.
There are a lot of boot brands that offer add-ons or accessories for their liners. Thirty Two Boots supply a complimentary Heel Hold Kit in all models featuring their Team, Performance, and Elite Liners. Vans also has a similar feature in any boots with their V2 or V3 Liner. If you have one of these models, sometimes a more secure ankle and heel-hold can be achieved by adding one of these systems to the liner itself.
All of the boots we sell at ridebackwoods.com and in our brick and mortar location are completely heat moldable. This process is a whole different topic, but to make a long story short, it's a process that super heats your liner safely in order to make the material conform more to your specific foot shape. All liners will accomplish this on their own eventually but heat molding a new pair of boots significantly speeds that process up.
Final Pep Talk
A happy snowboarder is our kind of snowboarder. Effortlessly ripping turns in powder, the trees, the steeps, the course, or open trails is the end goal for all of us. So gear up, lace up, and get your feet into some different boots to better educate yourself on fits, lacing systems, or whatever else you experience while trying them on.
We hope you can use this guide as a tool to help you make a better decision. It's a big one.
Go to the mountain. Get on a chairlift. Get out your split board. Go ride.